5 Tips for Brush Lettering for Beginners
5 Tips for Brush Lettering for Beginners!
If you are interested in calligraphy, brush lettering is a great place to start. The supplies are pretty affordable, they aren’t at all messy, and it is a great way to get comfortable with the strokes. I am going to give you 5 tips that I wish I would have had as a beginner to get started.
SUPPLIES!
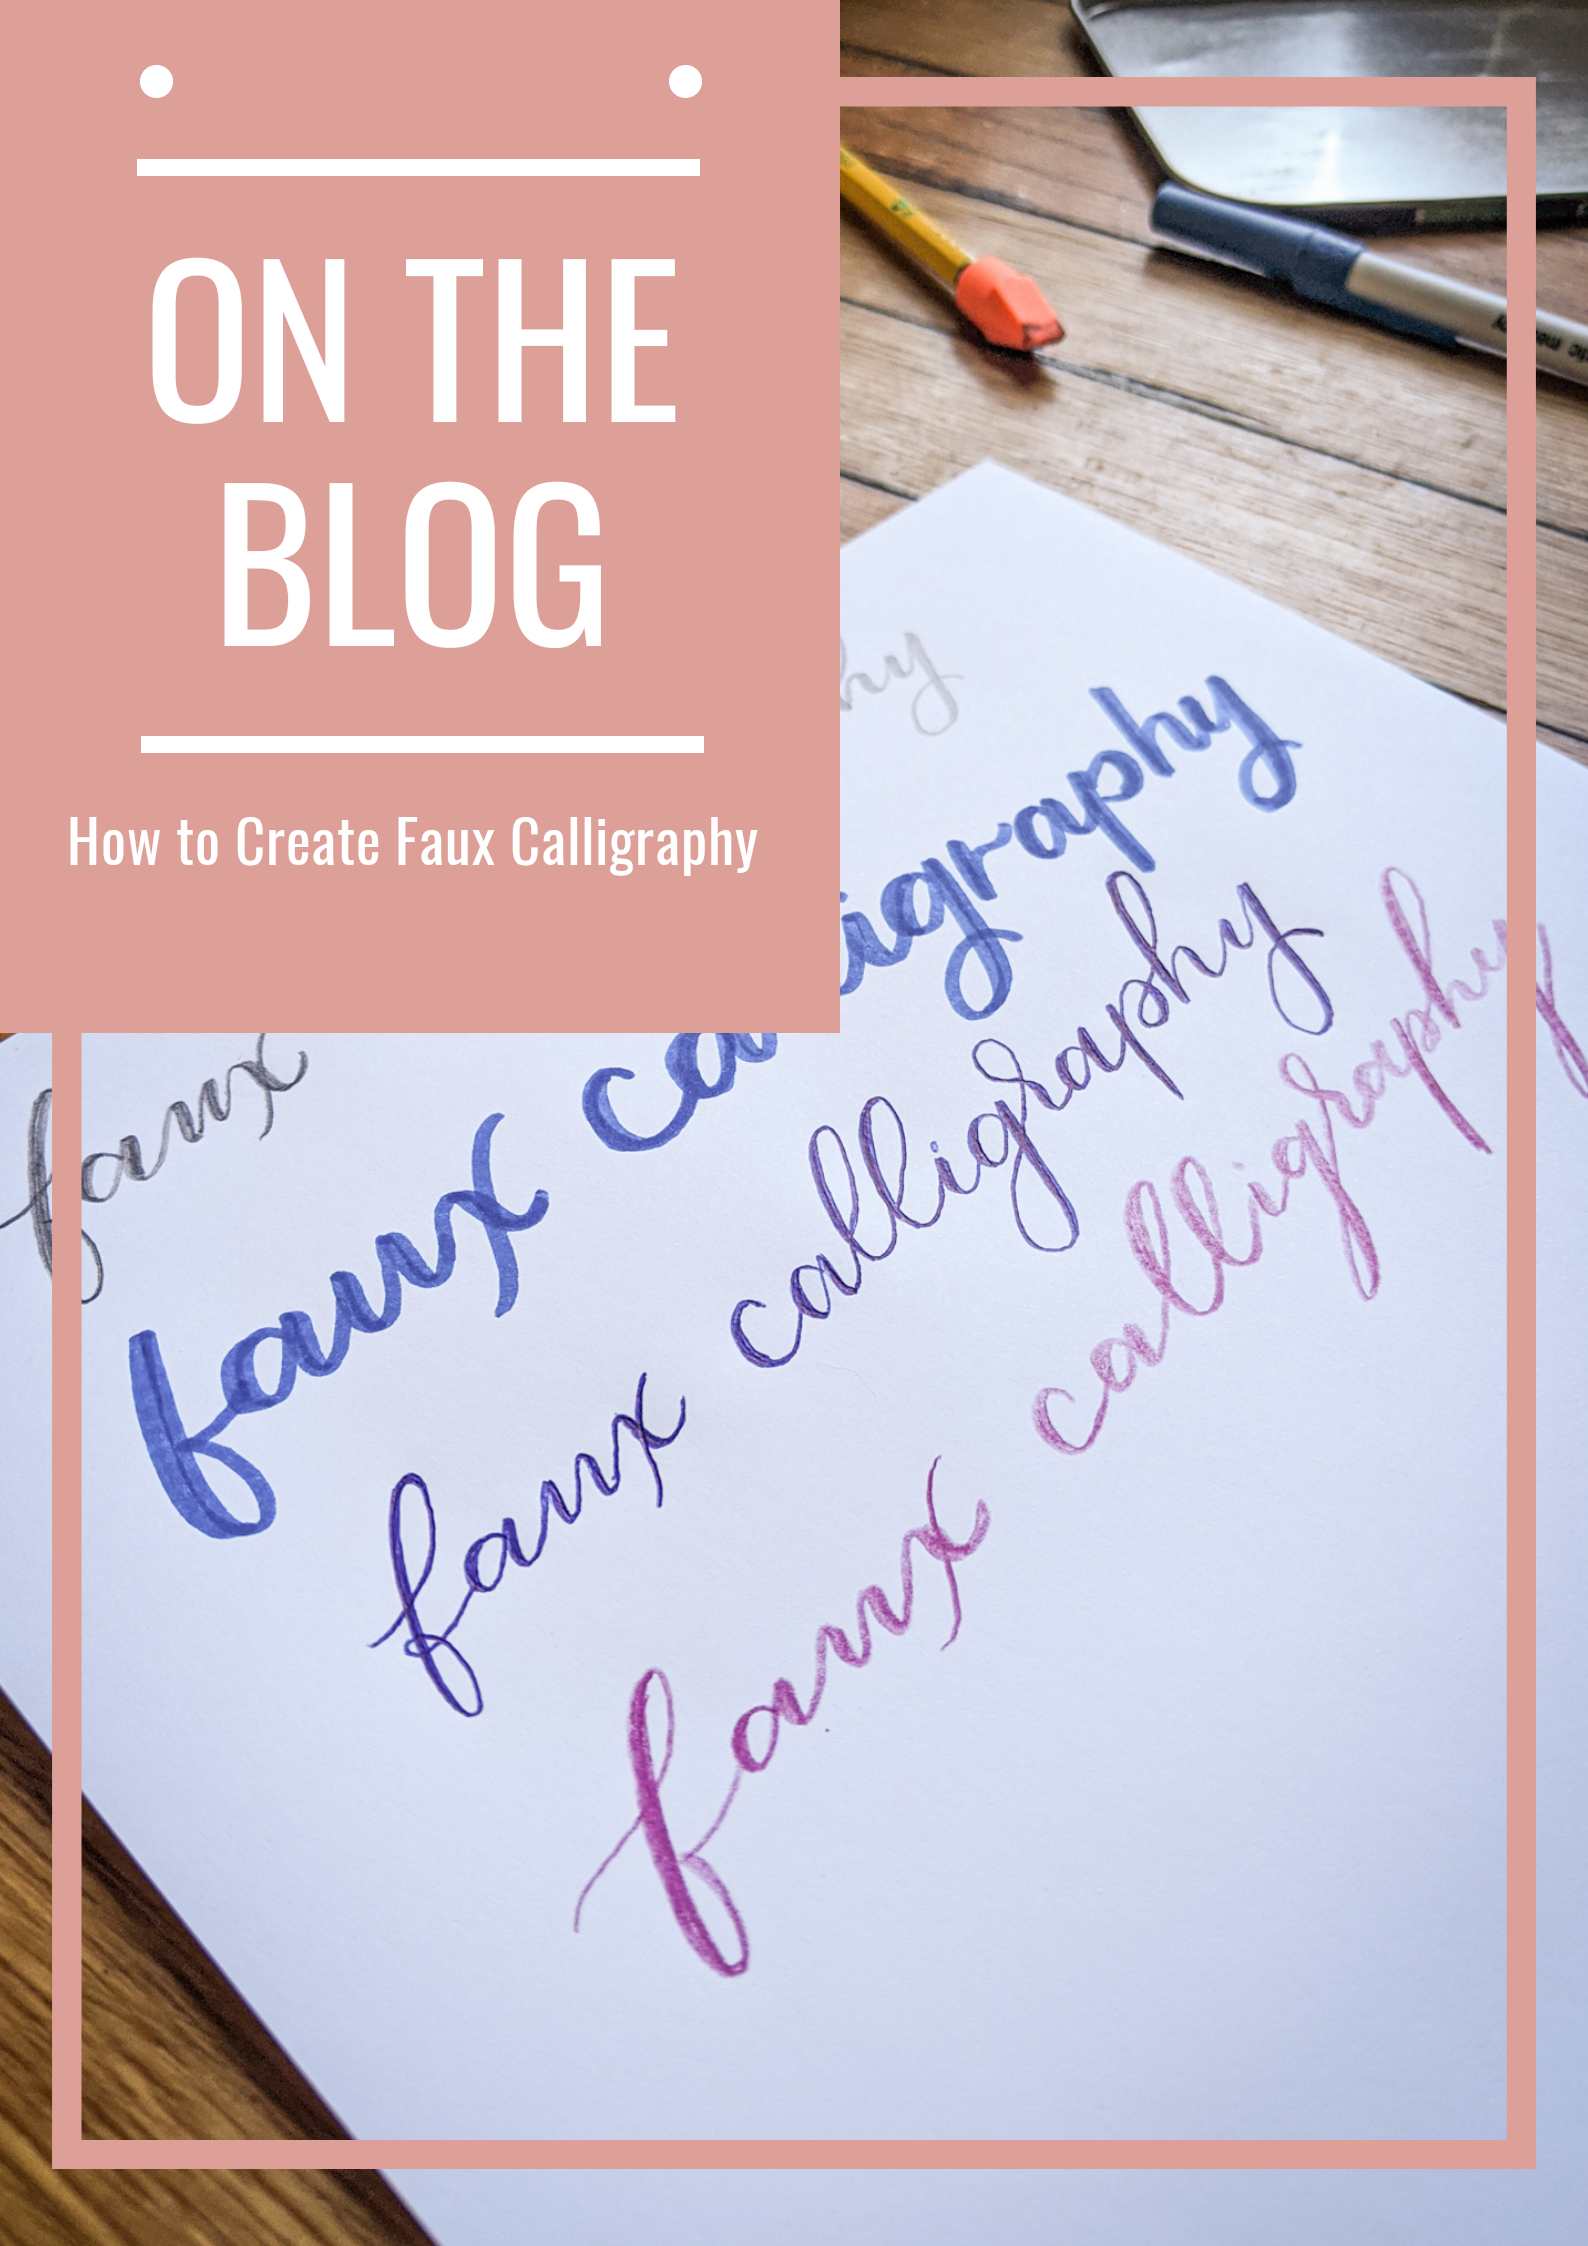
This is important because if you are going to spend money on a new hobby that you’ve never done before you want to buy the right things, but you also don’t want to break the bank if you don’t know if you will enjoy it.So for beginners I would recommend to first use Crayola Markers. You probably already have a box at home or you can run to Walmart or Target to grab a box. Not expensive and you can run them dry without feeling guilty while practicing. Just because they aren’t made for brush lettering doesn’t mean you can’t use it. (Side note: the fat markers work better than the thin markers to get a more noticeable thick/thin stroke.)
Now if you want to move on to buying actual brush pens I have two pens that are great for beginners. Tombow Dual Brush Pens and Tombow Fudenosuke Hard Tip Pen. I would say one pen will probably be a better fit for you because they are two completely different felt tips but I would say they are both nice to have and to try. The dual brush pen is a much bigger felt tip and much more flimsy, while the Fudenosuke is so much smaller and harder (hence “Hard Tip”). Personally when I began I enjoyed the Fudenosuke the most because I had to physically push harder to get the thick lines and didn’t feel like I had to be so light with the upstroke. I also prefer writing smaller and with the dual brush pen or the Crayola marker I was writing much larger and I felt like I was burning through paper while practicing.
Now for the PAPER! You wouldn’t think this is a big deal but boy is it! If you are buying brush pens you want to treat them nice. With normal computer paper you are going to make them fray so fast (I did this). I think fraying looks nice, but I also didn’t know this was a thing until I did it. So you want to buy the right paper. I recommend that you buy HP Premium Choice Laserjet Paper or buy a drawing paper that is made specifically for markers, such as Canson XL Series Marker Paper Pad. When looking for paper you want it to be very smooth, this will protect your markers from fraying so quickly and the ink just appears so much brighter and rich in color.
2. Know Your Strokes
When you are writing you want to have the thick strokes in the right place to give it that legit calligraphy feel. To put it plain as day, down strokes are thick and up strokes are thin.
DOWN STROKES= THICK
UP STROKES= THIN
To help with visualizing it write out some letters or a word and then draw arrows showing the direction you wrote the letter.
3. Lift Up Your Pen After Every Stroke
When writing in cursive you never lift your pen so you may think you have to do the same when brush lettering because the letters tend to connect. Well, I highly recommend that you don’t feel like you need to leave your pen on the paper at all times because your lettering will look so much better if you pick your pen up. This will help on many levels but the biggest is that it is a lot easier to keep your lettering straight and not writing diagonally across the page and your lettering will look more uniform when you break the letter up into different shapes.
4. Write Slowly
You may think that you can write at the normal speed you write with your handwriting but that is not true. You will want to take your time and make the strokes look clean by writing slower than normal. If you are struggling to get your lettering where you want it to be then it may be your speed. Even the pros write slowly and if you see a video of them writing I bet you money they sped that video up because it’s so long for someone to watch or their instagram post would get cut off before they finish the word. So if you write slowly, you are not alone!
5. Practice and Drills are a MUST
No one wants to be told you have to do drills or practice to get better at something. You probably just want a few helpful tips and told what supplies to get and BAM you are a pro. Unfortunately nothing works that way and we all have to practice. I still do drills (I try everyday but that doesn't always happen) and I always warm up my hand before I start hand lettering, brush lettering, calligraphy, painting, or drawing. It’s just part of it and it is what makes you great at your skill.
Practice will also help you build up muscle memory. The more you practice shapes, the alphabet, and words the better your hand will move when writing and your lettering will be clean and smooth. There are even practice sheets that you can write over other hand letterer’s writing to learn the way they write. The more you practice the better you will get!


