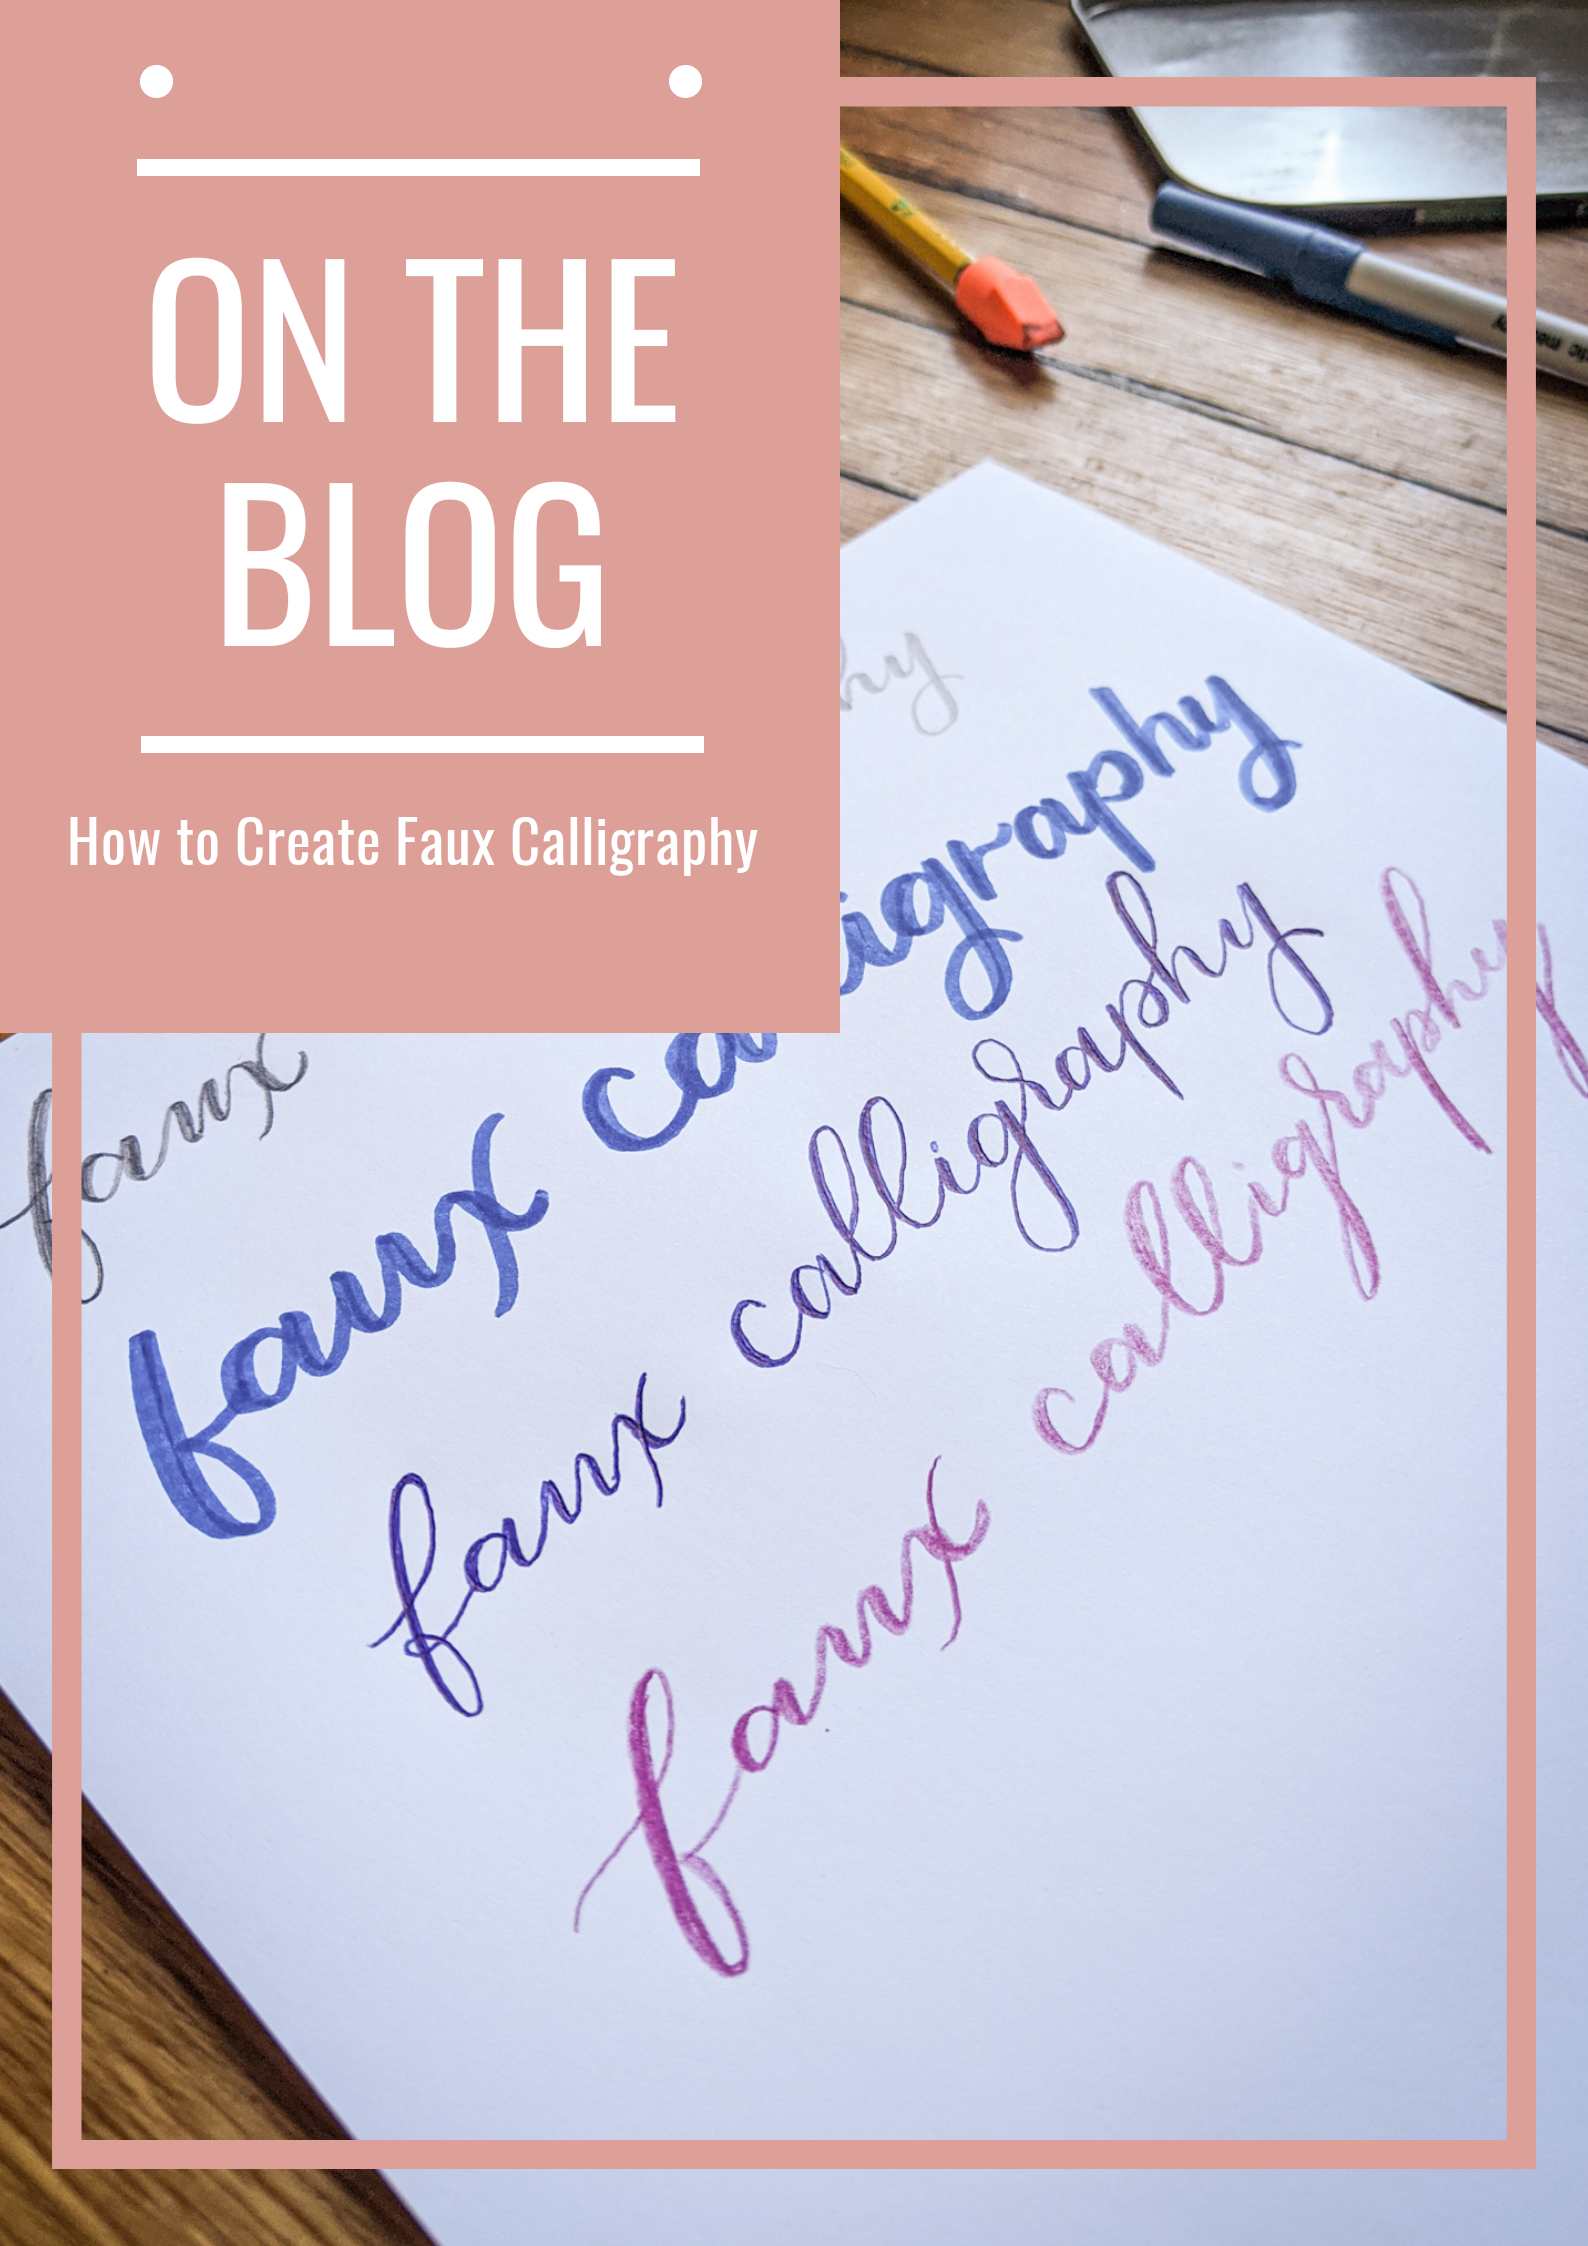
How To Do Faux Calligraphy
Have you wanted to do calligraphy but don’t have the material or supplies?
What if I told you that you could create your own calligraphy design with the supplies you have at home?
Here’s some examples of what you can use:
Pencil
Ball Point Pen or Micron Pen (size 08 is my favorite size for this)
Crayola Marker or Sharpie
Colored Pencils
Chalk
Crayons
Anything that you can write with!
Paper (computer paper is great! I prefer a smooth card stock paper)
Now how do you use these materials to mimic the look of calligraphy?
First, you need to know what part of the letter is thick and which part is thin. This is how you are going to make it look like realistic calligraphy. If you place the thickness in the wrong part of the letter it will seem sort of off to you.
When you are writing you will want the downward stroke to be thick and the upward stroke to be thin.
So I will repeat that!
DOWN = THICK
UP = THIN
Practice drawing zig zags, circles, and “U”s to get comfortable with where to place the thicker lines.
When I first started I would draw arrows to point the way the stroke went to get a better visual.
Next, draw a couple of letters to practice. Once the letter is drawn you will outline where the down strokes are and fill them in. Practice a couple of words once you are comfortable with the stroke thickness.


